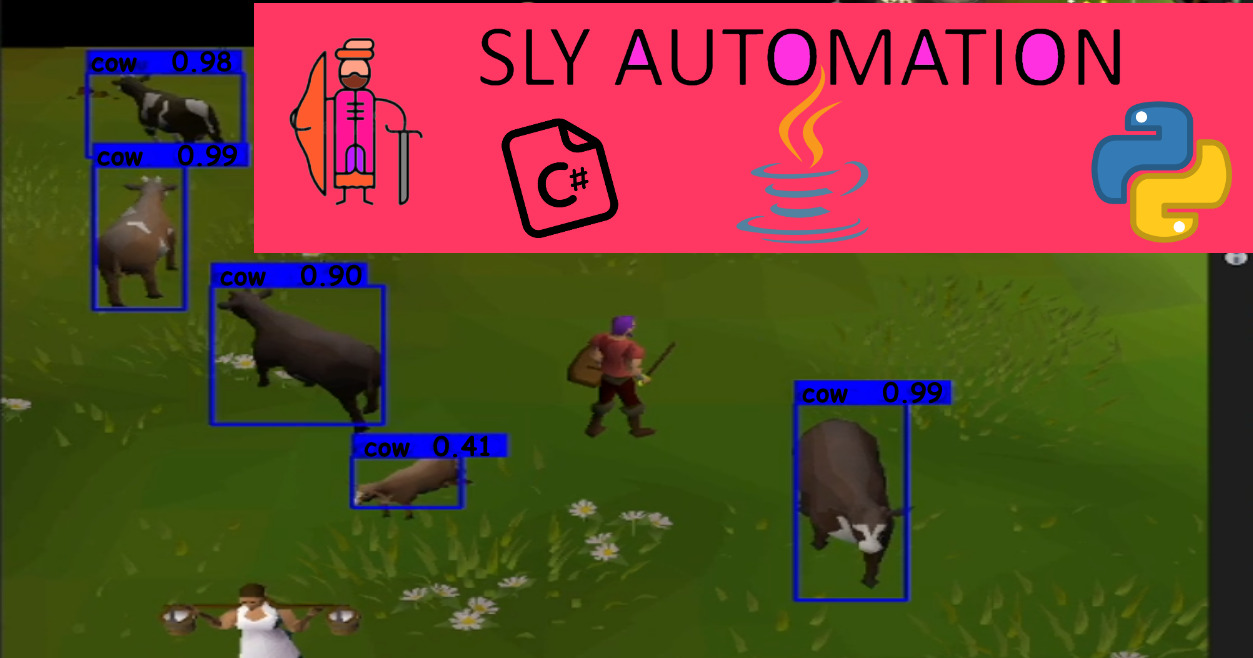
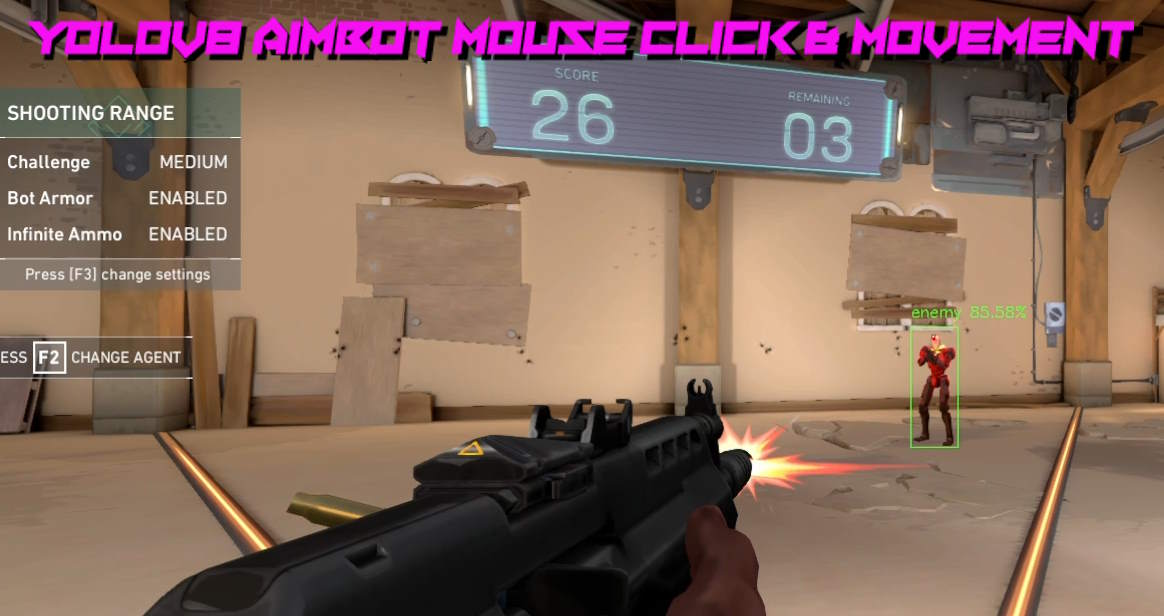
Introduction: Welcome to Sly Automation’s guide on performing object detection using YOLO version 3 and text recognition, along with mouse click automations and screen movement using PyAutoGUI. In this tutorial, we will walk you through the steps required to implement these techniques and showcase an example of object detection in action.
Cloning the yolov3 Project and installing the requirements
Github Source: https://github.com/slyautomation/osrs_yolov3
This project uses pycharm to run and configure this project. Need help installing pycharm and python? click here! Install Pycharm and Python: Clone a github project
Note: Yolov3 project only works with python 3.7 so make sure to configure your pycharm environment with the 3.7 python interpreter.
Download YOLOv3 weights
https://pjreddie.com/media/files/yolov3.weights —– save this in ‘model_data’ directory
An Alternative is the tiny weight file which uses less computing but is less accurate but has quicker detection rates.
https://github.com/smarthomefans/darknet-test/blob/master/yolov3-tiny.weights —– save this in ‘model_data’ directory
Convert the Darknet YOLO model to a Keras model.
type in terminal (in pycharm its located at the bottom of the page in the terminal window section):
pip install -r requirementspython convert.py -w model_data/yolov3.cfg model_data/yolov3.weights model_data/yolov3.h5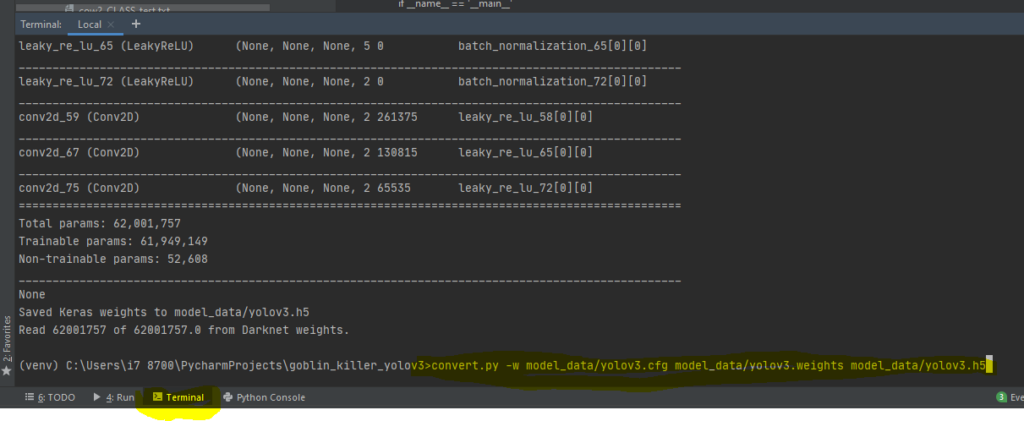
Download Resources
Note: if there’s issues with converting the weights to h5 use this yolo weights in the interim (save in the folder model_data): https://drive.google.com/file/d/1_0UFHgqPFZf54InU9rI-JkWHucA4tKgH/view?usp=sharing
goto Google drive for large files and specifically the osrs cow and goblin weighted file: https://drive.google.com/folderview?id=1P6GlRSMuuaSPfD2IUA7grLTu4nEgwN8D
Step 1: Setting Up the Environment
To begin, we need to set up our development environment. Start by creating an account on NVIDIA Developer’s website. Once done, download the CUDA Toolkit compatible with your GPU. We will use CUDA 10.0 for this example. Install the toolkit and ensure that all components are properly installed.
Check your cuda version
Check if your gpu will work: https://developer.nvidia.com/cuda-gpus and use the cuda for your model and the latest cudnn for the cuda version.
type in terminal: nvidia-smi
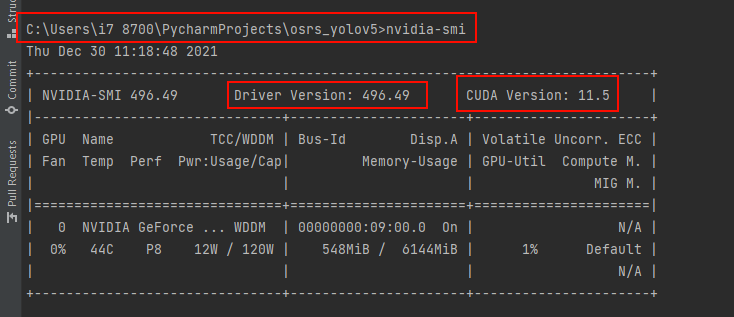
my version that i can use is up to: 11.5 but for simplicity i can use previous versions namely 10.0
cuda 10.0 = https://developer.nvidia.com/compute/cuda/10.0/Prod/local_installers/cuda_10.0.130_411.31_win10
Step 2: Downloading and Configuring CUDA NN
Next, download the CUDA NN library compatible with your CUDA version. Extract the files and copy them to the CUDA installation directory, overwriting any existing files.
Install Cudnn
cudnn = https://developer.nvidia.com/rdp/cudnn-archive#a-collapse765-10
for this project i need 10.0 so im installing Download cuDNN v7.6.5 for CUDA 10.0 (https://developer.nvidia.com/compute/machine-learning/cudnn/secure/7.6.5.32/Production/10.0_20191031/cudnn-10.0-windows10-x64-v7.6.5.32.zip)
make sure you have logged in, creating an account is free.

Extract the zip file just downloaded for cuDNN:
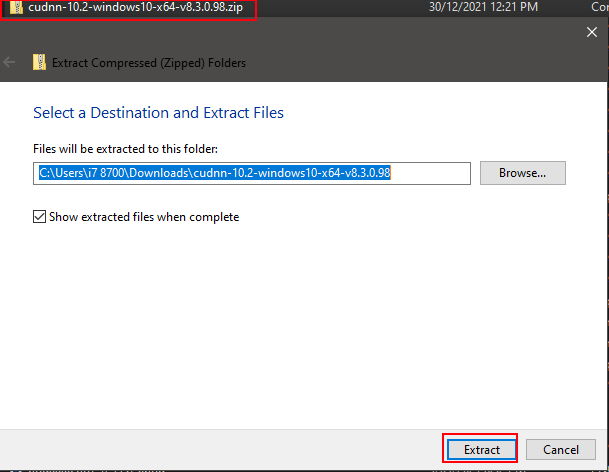
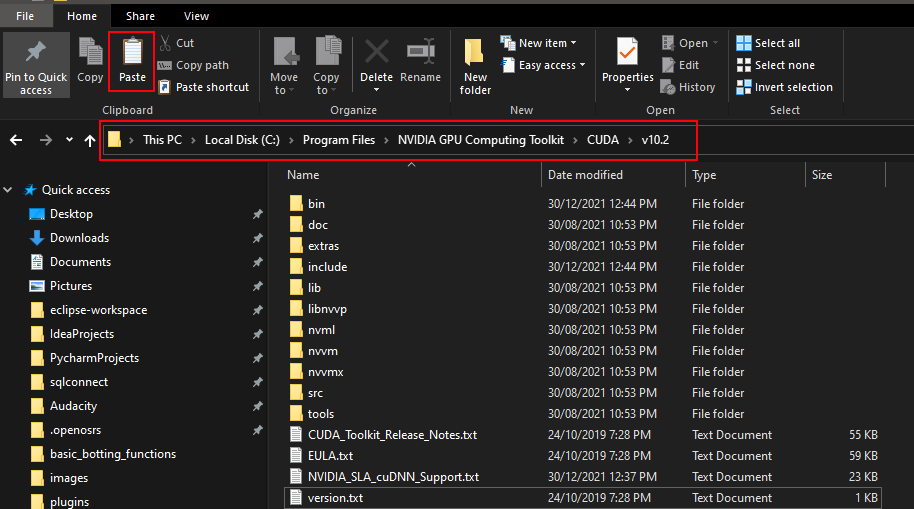
Copy contents including folders:

Locate NVIDIA GPU Computing Toolkit folder and the CUDA folder version (v10.0) and paste contents inside folder:
labelImg = https://github.com/heartexlabs/labelImg/releases
tesseract-ocr = https://sourceforge.net/projects/tesseract-ocr-alt/files/tesseract-ocr-setup-3.02.02.exe/download or for all versions: https://github.com/UB-Mannheim/tesseract/wiki
Credit to: https://github.com/pythonlessons/YOLOv3-object-detection-tutorial
Step 3: Creating a Project in PyCharm
Open PyCharm and create a new project for object detection. Set up the necessary directories, including one for storing images and another for Python modules. Use the requirements.txt file and install the required modules using the pip install command.
Github Source: https://github.com/slyautomation/osrs_yolov3
Install Pycharm and Python: Clone a github project
Step 4: Implementing the Screenshot Loop
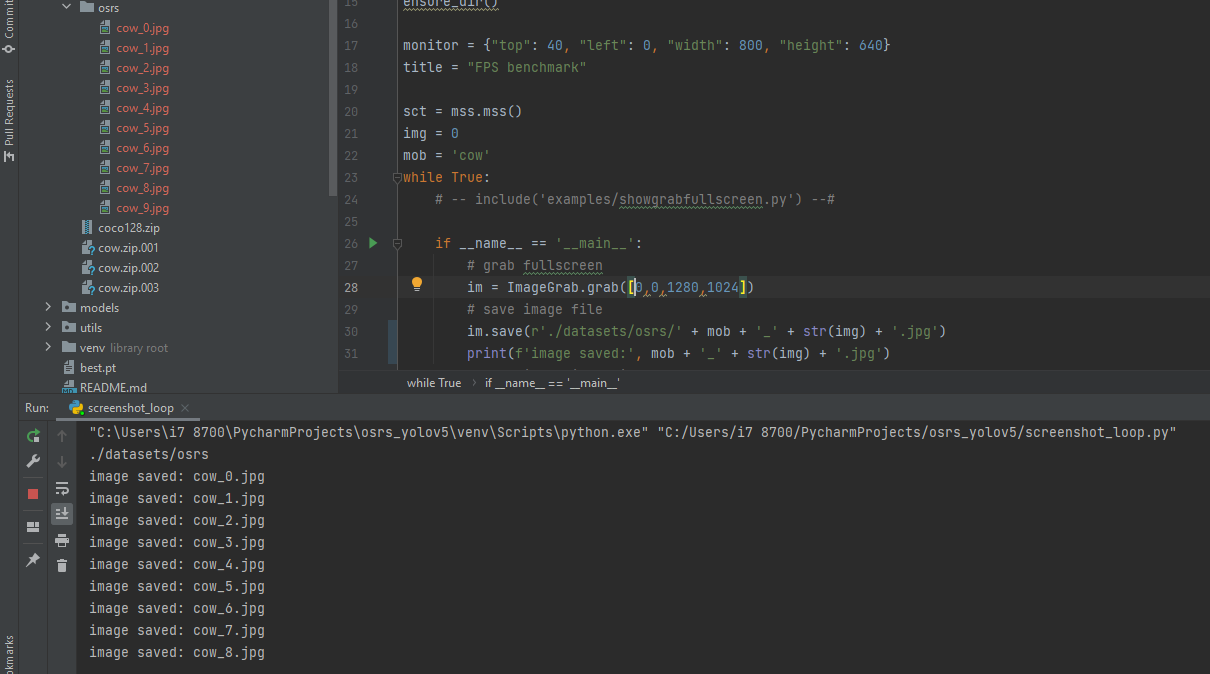
In this step, we will capture screenshots of the objects we want to detect in our object detection model. Create a Python script to take screenshots at regular intervals while playing the game. Install additional modules such as Pillow, MSS, and PyScreenshot. Run the script and ensure that the screenshots are saved in the designated directory.
script screenshot_loop.py
Make sure to change the settings to suit your needs:
monitor = {"top": 40, "left": 0, "width": 800, "height": 640} # adjust to align with your monitor or screensize that you want to capture
img = 0 # used to determine a count of the images; if starting the loop again make sure to change this number greater than the last saved image e.g below img = 10
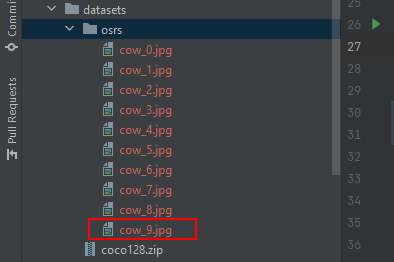
mob = 'cow' # change to the name of the object/mob to detect and train for.
Run the script, images will be saved under datasets/osrs
Step 5: Labeling the Images
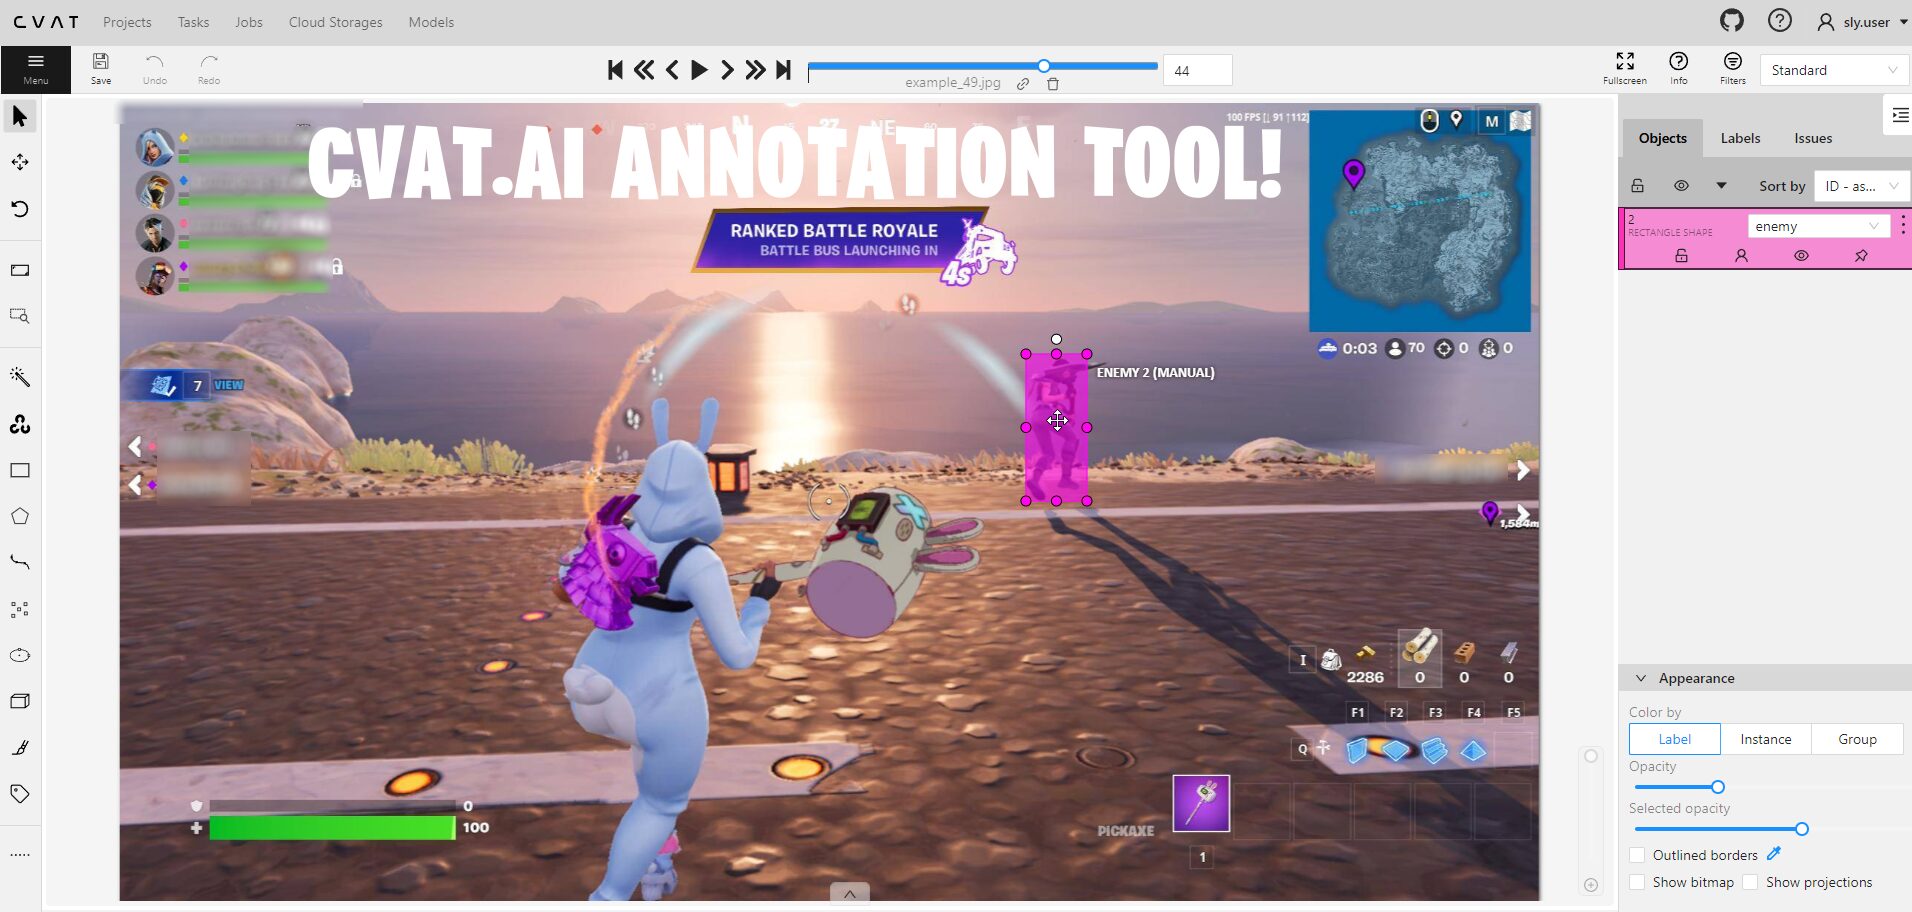
Use a labeling tool like LabelImg to draw bounding boxes around the objects in the captured screenshots. Name the bounding boxes according to the objects they represent. Ensure that you label objects in various environments and backgrounds to improve generalizability.
labelImg = https://github.com/heartexlabs/labelImg/releases
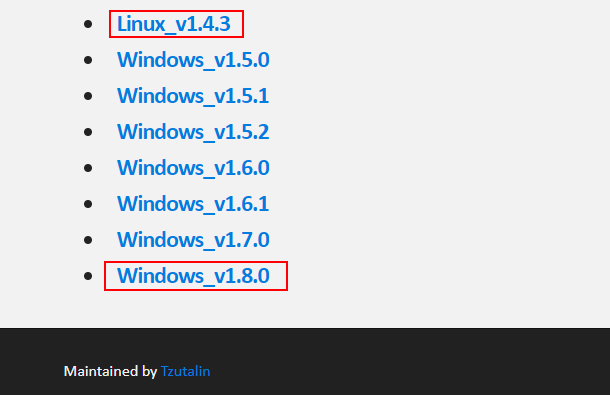
Click the link of the latest version for your os (windows or linux), i’m using Windows_v1.8.0.
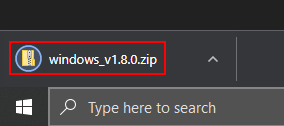
Open downloaded zip file and extract the contents to the desktop or the default user folder.

Using LabelImg
Open the application lableImg.exe

Click on ‘Open Dir’ and locate the images to be used for training the object detection model.
Also click ‘Change Save Dir’ and change the folder to the same location, this will ensure the yolo labels are saved in the same place.
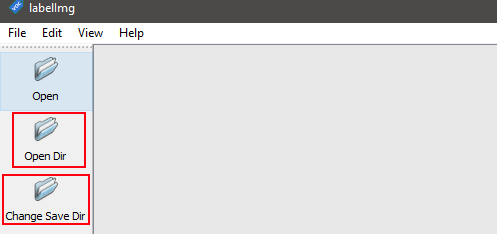
if using the screenshot_loop.py script change the directory for both ‘open Dir’ and ‘Change Save DIr’ to the pycharm directory then to the osrs_yolov3/OID/Dataset/train osrs folder.
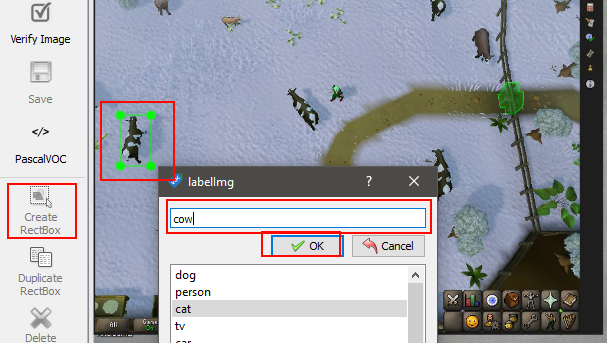
Click on the create Rectbox button or use the keyboard shortcut W, type the desired name for the annoted object and click ok.
The right section is all the annoted objects with the names and in the lower right section is the path to all the images in the current directory selected.
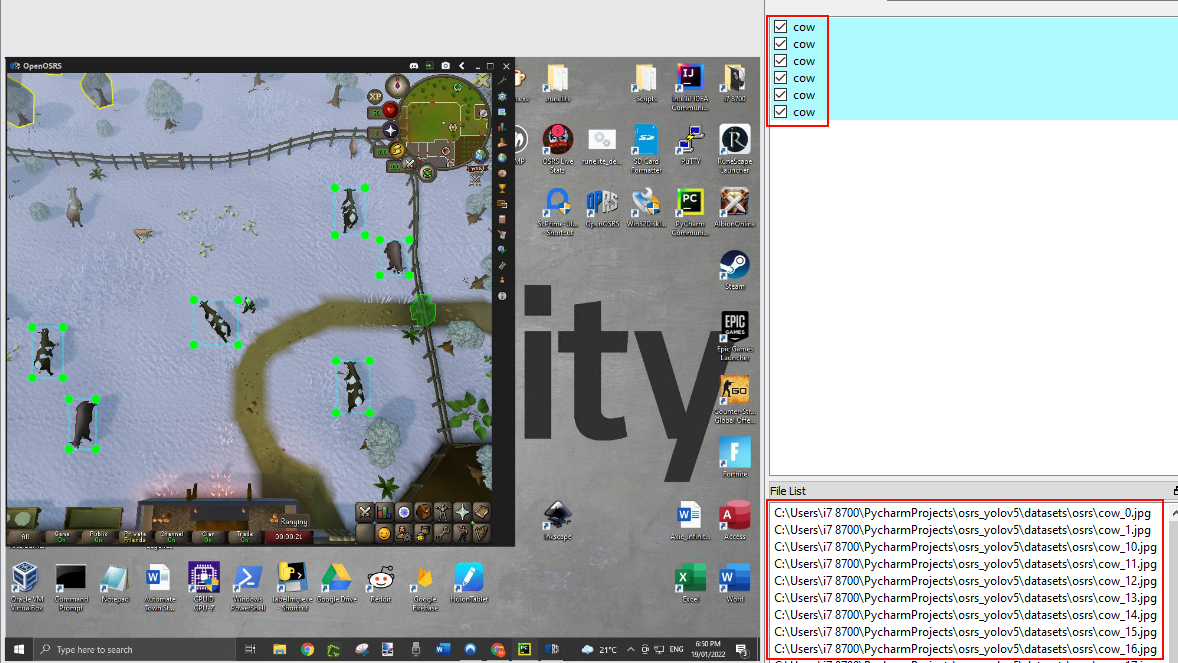
Step 6: Generating the Dataset
Create a dataset directory and organize the labeled images and XML files containing the coordinates of the bounding boxes. Generate a text file that lists the paths to the images and their corresponding classes. Convert any PNG images to JPEG format if required.
Step 7: Training the Model
Prepare the necessary YOLOv3 files, including weights, configurations, and anchors. Create a directory for the YOLOv3 scripts. Adjust the batch size, sample size, and other parameters in the training script as per your requirements. Run the training script, ensuring that the GPU is properly detected.
Step 8: Installing Tesseract OCR
Download the Tesseract OCR library from the official repository. Install the program, making sure to select the necessary components. Specify the installation directory during setup.
Step 9: Real-time Object Detection
Modify the real-time detection script to use the trained model and class for the desired object detection. Run the script and observe the results, with bounding boxes around the detected objects displayed on the screen.
Troubleshooting:
Images and XML files for object detection
example unzip files in directory OID/Dataset/train/cow/: cows.z01 , cows.z02 , cows.z03
add image and xml files to folder OID//Dataset//train//name of class **** Add folder to train with the name of each class
***** IMAGES MUST BE IN JPG FORMAT (use png_jpg.py to convert png files to jpg files) *******
run voc_to_yolov3.py – this will create the images class path config file and the classes list config file
while using the pip -r requirements and still get the error: cannot import name 'batchnormalization' from 'keras.layers.normalization download this and save to model_data folder https://drive.google.com/file/d/1_0UFHgqPFZf54InU9rI-JkWHucA4tKgH/view?usp=sharing.
Resolving Batchnormalisation error
this is the error log for batchnormalisation: https://github.com/slyautomation/osrs_yolov3/blob/main/error_log%20batchnormalization.txt this is caused by having an incompatiable version of tensorflow. the version needed is 1.15.0
pip install --upgrade tensorflow==1.15.0since keras has been updated but will still cause the batchnomralisation error, downgrade keras in the same way to 2.2.4:
pip install --upgrade keras==2.2.4refer to successful log of python convert.py -w model_data/yolov3.cfg model_data/yolov3.weights model_data/yolov3.h5
Conclusion: Congratulations! You have successfully learned how to perform object detection using YOLOv3 and text recognition with PyAutoGUI. By following the steps outlined in this guide, you can automate tasks like mouse clicks and screen movements based on detected objects. Remember to experiment with different environments and objects to enhance the generalizability of your object detection model. Happy automating!
Here’s the video version of this guide:




Someone said that you had to buy a domain, or your blogs weren’t seen by everybody, is that true? Do you know what a domain is? IF not do not answer please..
What’s a good fun blogging site to use with another person?